Beobachtungsliste
Kristian Ivanov
Since KDE SC 4.4, Prakash Mohan’s GSoC work has been released in KStars. KStars now has an awesome observation planner to plan your observation sessions. The execute session option allows you to log information about objects as you observe them. Alternately, you may also write a short log in the session planner itself. We wish you a lot of fun planning your observations with KStars!
You can even add some pictures to the objects. The image list is a Google image search list. To add image to an object just press
Find Imagebutton on the right and then find an image that you like. If you do not have an Internet connection you can open an image from your hard drive. Note that images that will be used are going to be cropped to 600x600 pixels.The first way of doing this is by pressing Ctrl+2 or Ctrl+L to open the Observation List, then press the
Add Objectbutton.
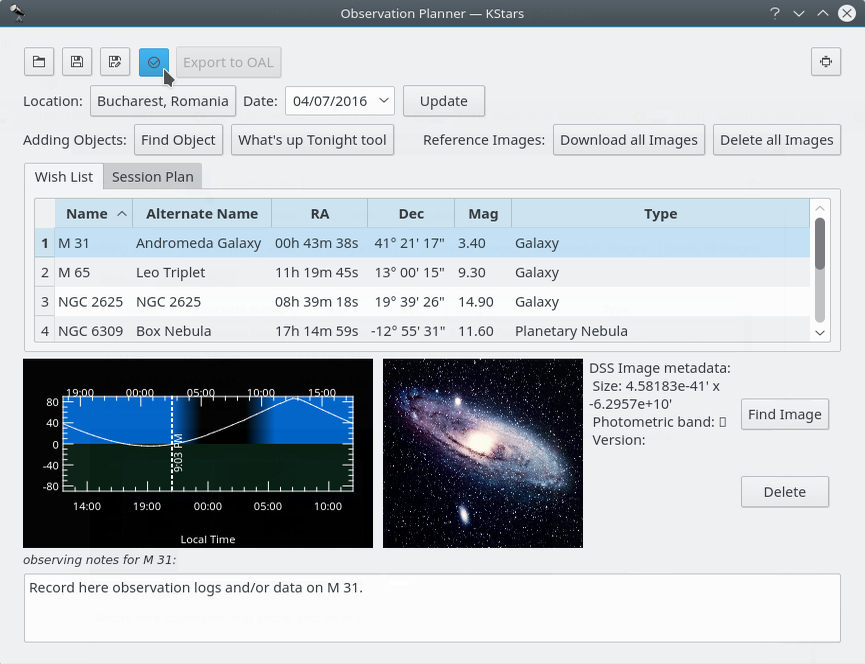
The
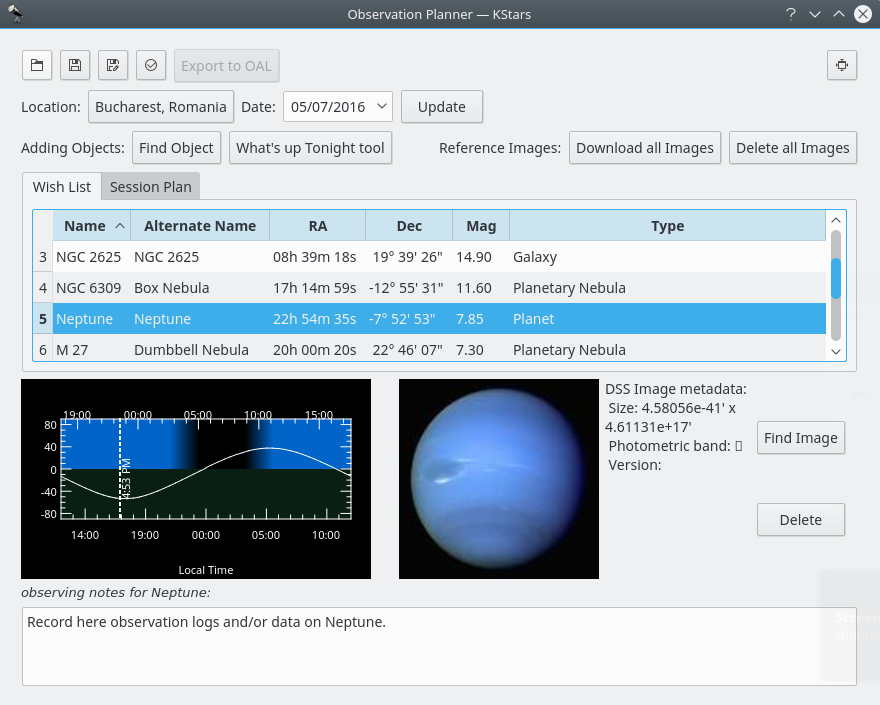
Download all Imagesbutton does a search for the SDSS images and displays the DSS image if the requested RA/Dec is out of the SDSS footprint.
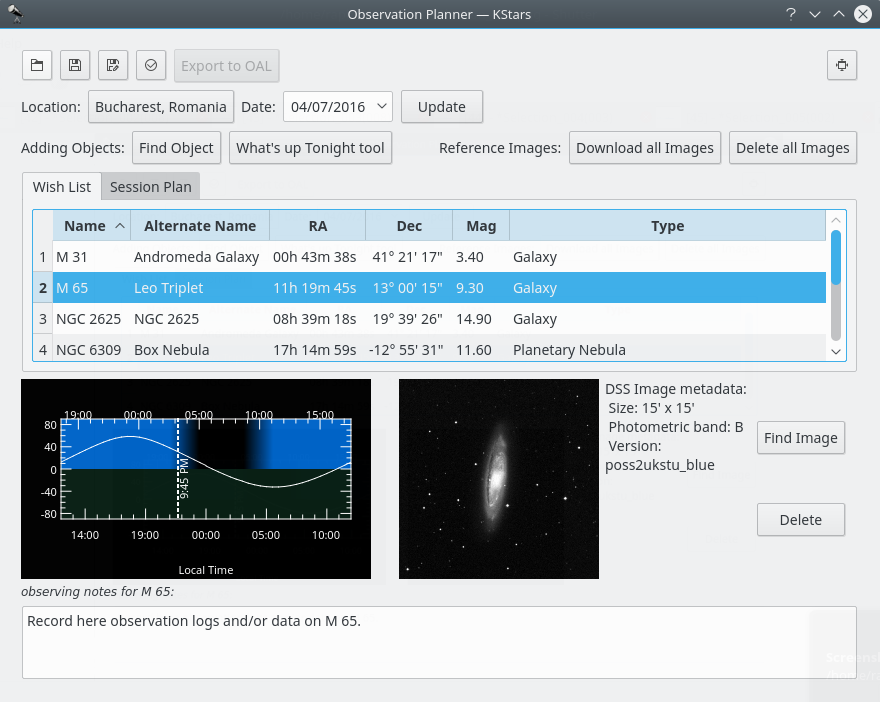
Dies ist ein SDSS-Bild einer Galaxie
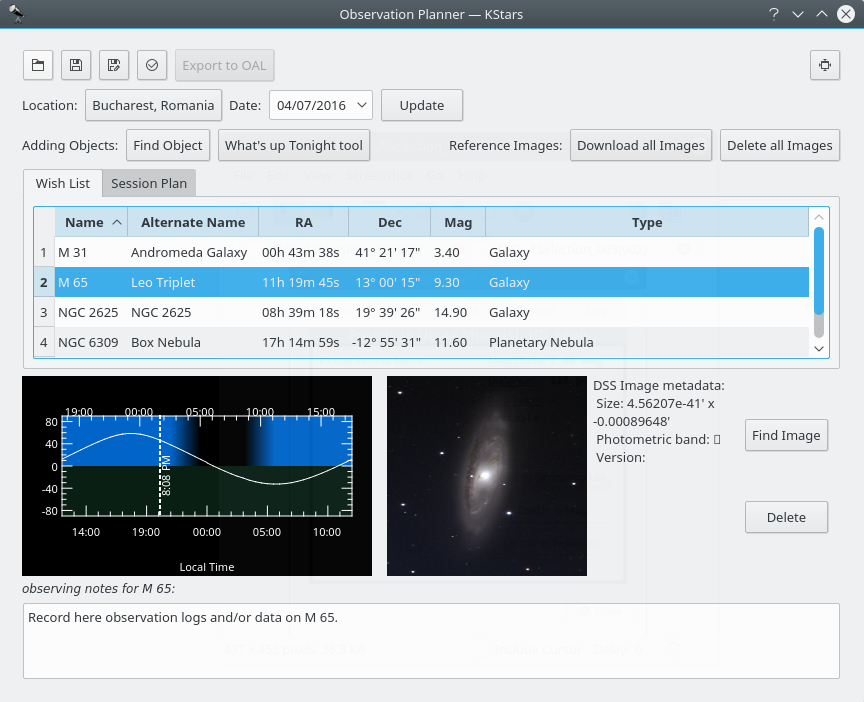
Dies ist ein DSS-Bild derselben Galaxie
The
Delete all Imagesbutton does the opposite. It deletes all downloaded images.
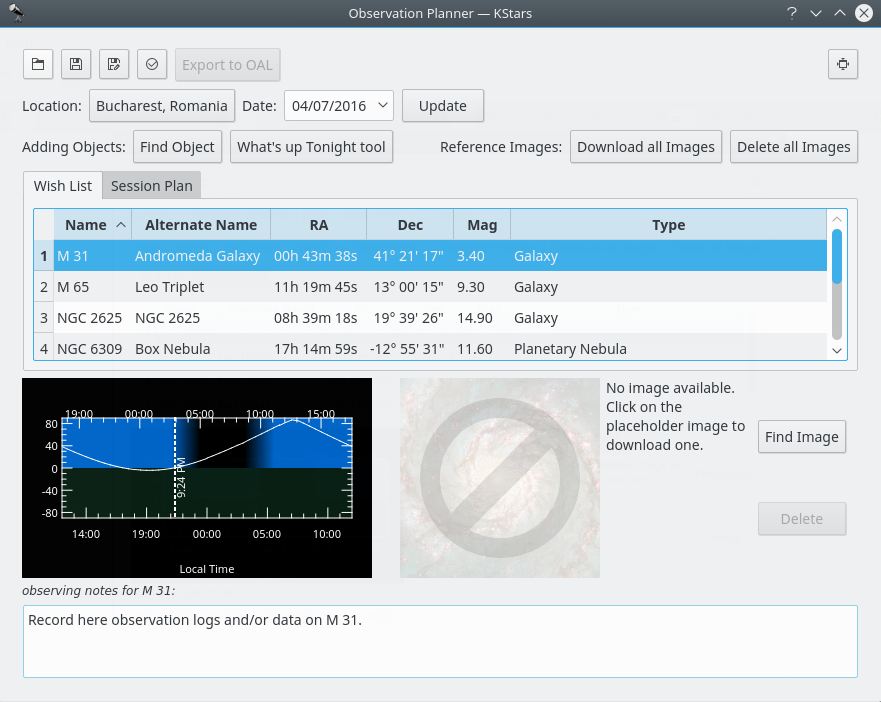
Das Bild der Galaxie ist nun gelöscht
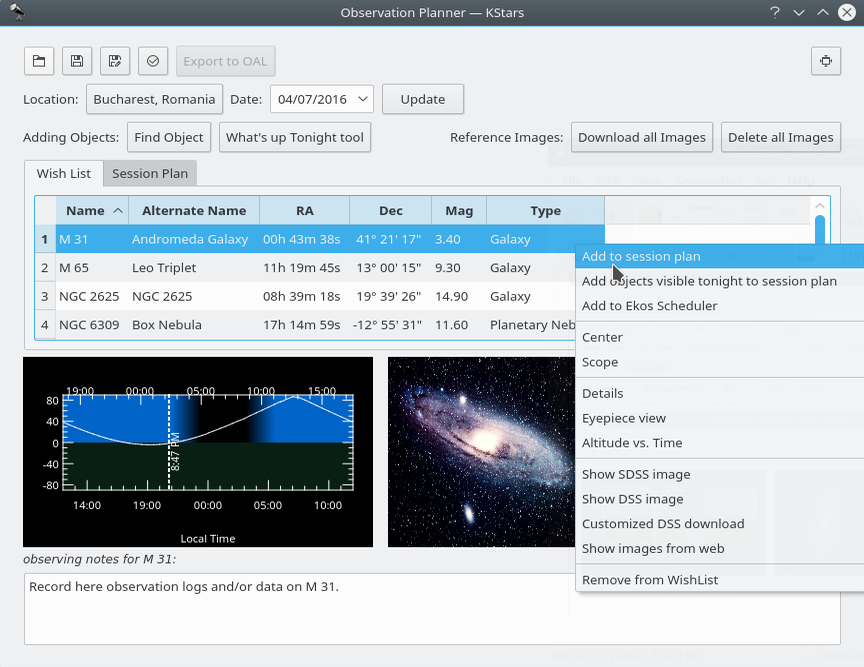
You can add more objects by pressing the
Find Objectbutton. It will open theFind Objecttool which provides two accurate methods for sorting out the items, depending on what criteria you want to use. You can filter the list by objects type: Any, Stars, Solar System, Clusters (Globular and Open), Nebulae (Gaseous and Planetary), Galaxies, Comets, Asteroids, Constellations, Supernovae or Satellites. You can also filter the objects list by name. Enter the name of desired object in theFilter by nametext box.Inside Observation Planner window you can see the “Altitude vs Time” widget (AltvsTime), which shows you how the altitude of a selected object varies over time.
Below the AltvsTime widget, there is a text box in that you can add observing notes for current sky object.
Beachten Sie den Unterschied zwischen Beobachtungsliste und Sitzungsplan. In der Beobachtungsliste können Sie Objekte hinzufügen, die Sie irgendwann beobachten möchten. Aus der Beobachtungsliste können Sie dann Objekte in den Sitzungsplan einfügen.
Durch Klicken mit der &RMBn; auf ein Objekt öffnen Sie ein Kontextmenü für das Objekt.
Objekte zum Sitzungsplan hinzufügen
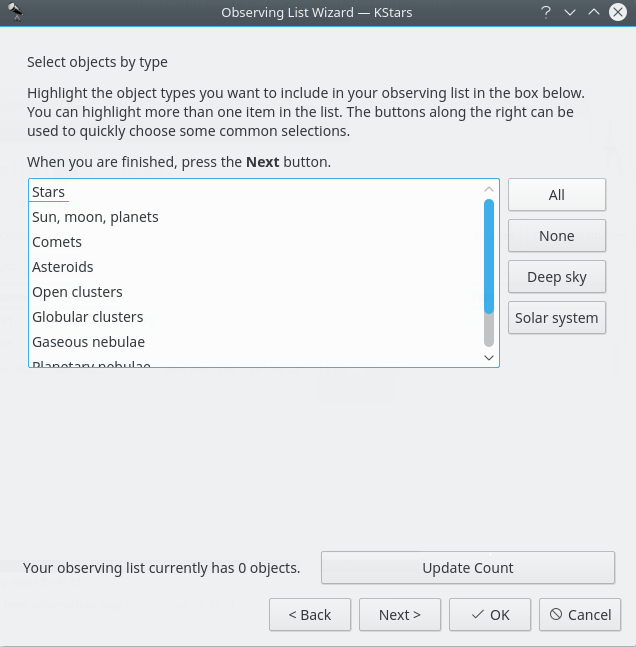
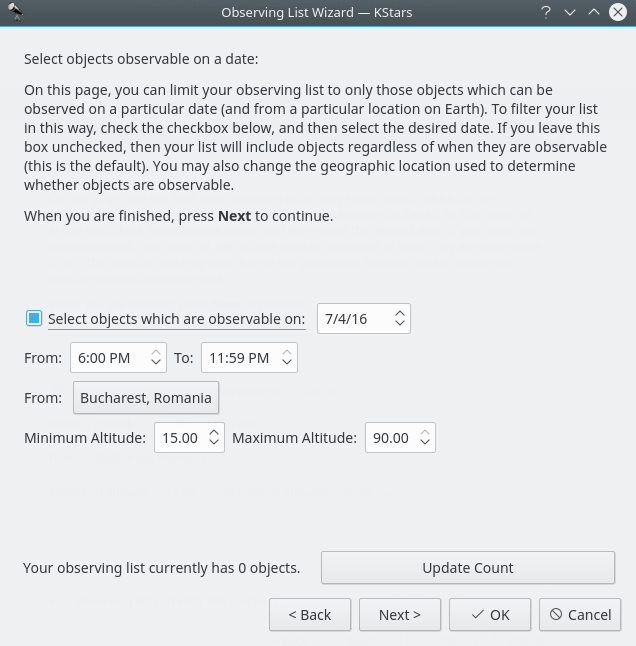
Here is the second way of adding objects in your Observation Plan, using the Observing List Wizard. You just need to press the fourth button on the top-left corner of the Observation Planner window.
Trotz anderer Ansicht ist der Umgang mit der Beobachtungsliste ähnlich wie bei der ersten Variante, ist aber etwas ausführlicher. Hier werden die gleichen Kategorien von Objekten angezeigt.
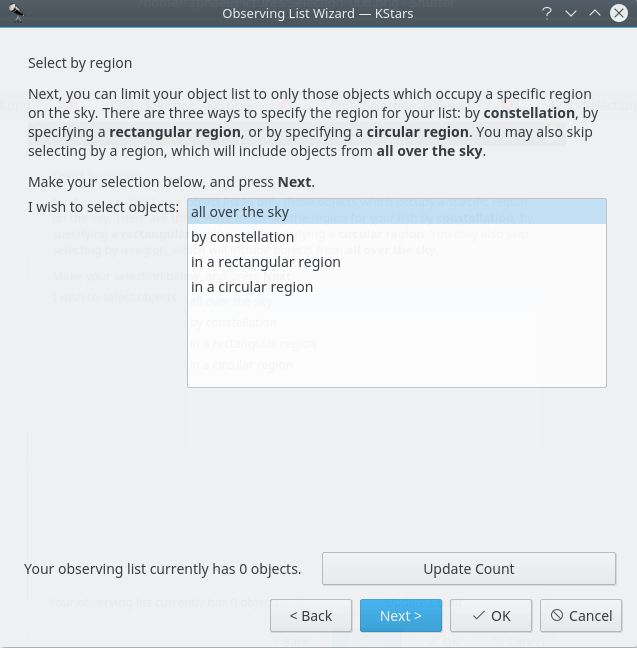
Sie können auswählen, wo sich die Objekte im Himmel befinden sollen. Es gibt vier Möglichkeiten: Alle Objekte als Voreinstellung oder Sternbilder und Objekte in einem rechteckigen oder kreisförmigen Bereich.
Das Datum und der Standort der Beobachtung kann ebenfalls eingestellt werden.
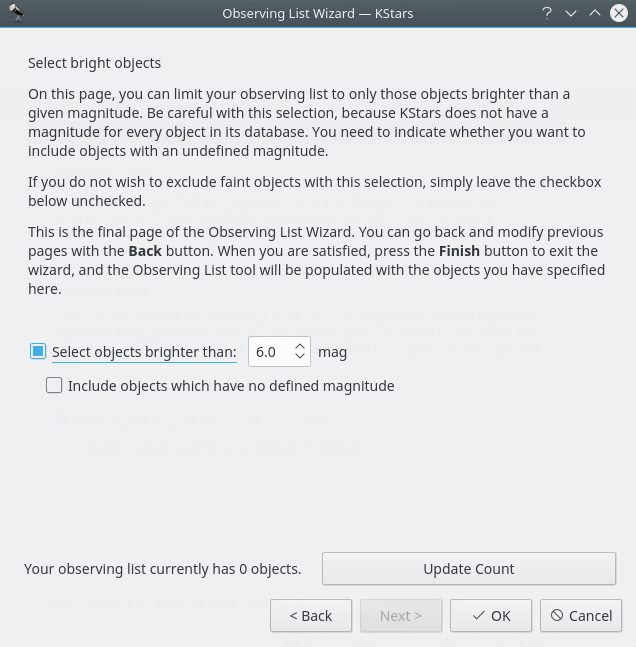
You can choose the threshold of magnitude for the objects to be shown. In astronomy, absolute magnitude (also known as absolute visual magnitude when measured in the standard V photometric band) measures a celestial object’s intrinsic brightness.
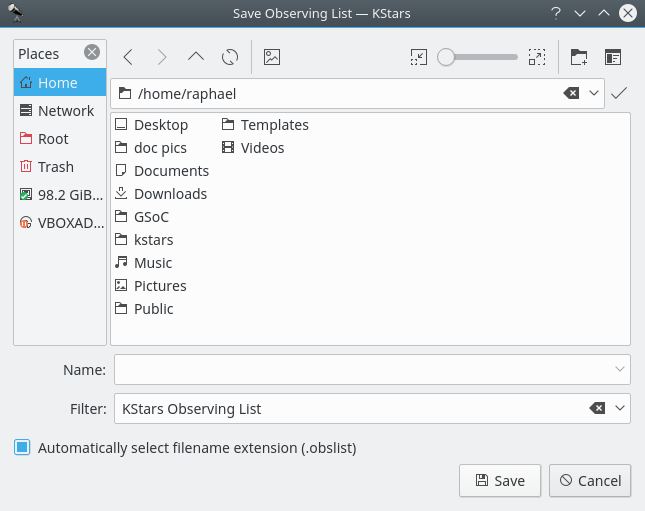
You can save your observation plan. And it will save it with a
.obslistextension.
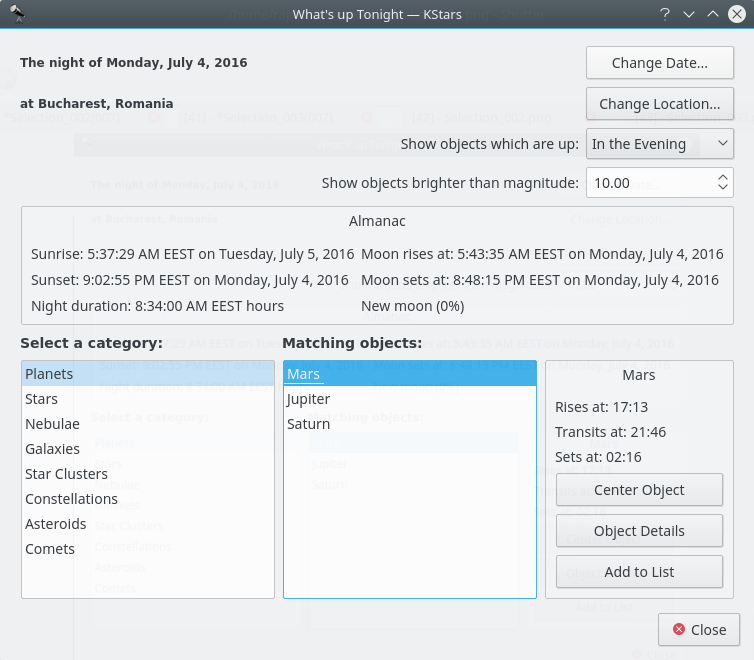
You can also access the
WUT(What’s up tonight), which could be of a great assistance to you. It can give you ideas what to observe on a date, time and place that you specify using the configuration buttons int the top-right corner of theWhat's up tonightwindow.
Another way of adding objects to your observation plan is using the newly introduced
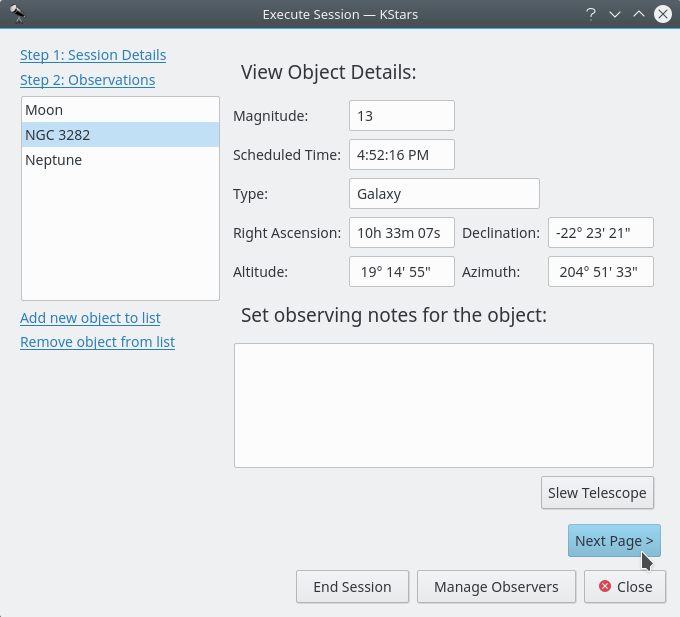
Batch Addwill open up a text box where you can type many objects to add in one shot to the observation planner. Any objects not in the KStars database already will be resolved using SIMBAD Astronomical Database (provided this has been enabled in the Settings) and added to the database. The entire process of adding objects is slow and may take a while, and you can watch the progress in the Status Bar. Any objects that could not be found are then listed in an error message, so you can identify and fix the errors. Usually this may be because SIMBAD expects a different way of specifying the object (e.g. Sim 147 instead of Simeis 147). This new feature allows you to easily scrape data from observing lists on the web etc. and add them to your workflow in KStars.This is how the
Execution SessionWindow look. It can be opened by pressing Ctrl+2. In it you can also see some information about the selected object and you are able to add observing notes.
Erste Seite des Dialogs „Sitzung ausführen“
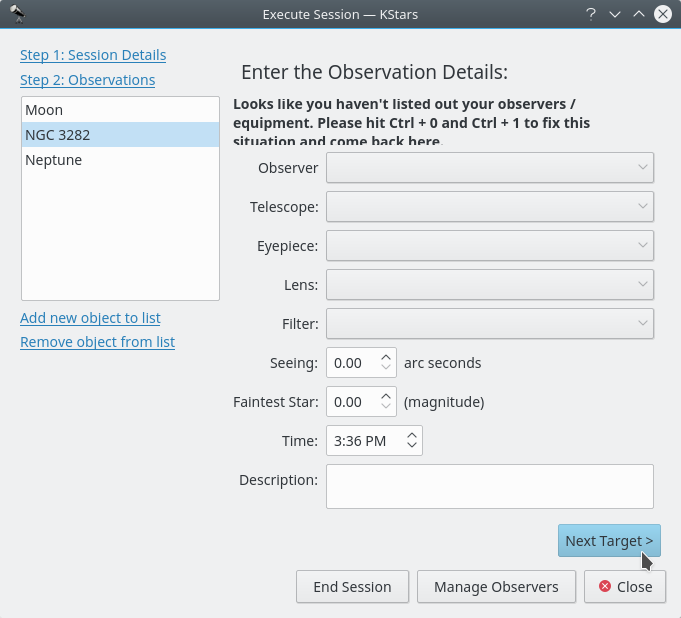
By pressing the
Next Pagebutton you will access the second page of Session Plan. Here you are able to see information not about your object, but about your equipment.
Zweite Seite des Dialogs „Sitzung ausführen“
Pressing the
Next Targetbutton will cause the Execute Session to open the first window about the next object.