
Terrain
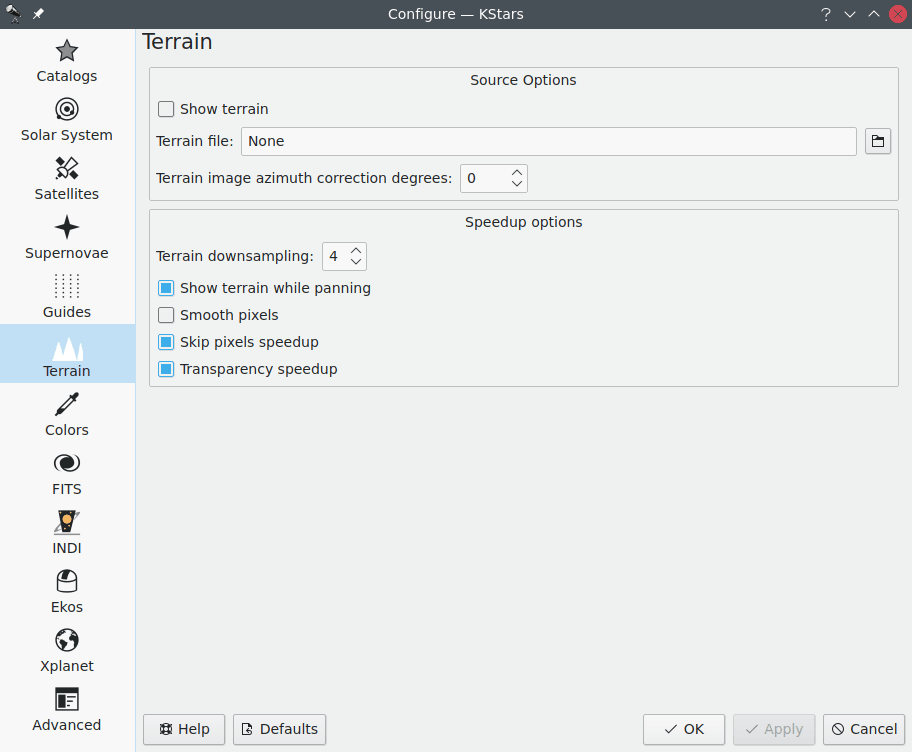
La page Terrain vous permet de choisir si l'image du terrain sera affichée sur la carte du ciel.
L'utilisateur a la possibilité de créer une image partiellement transparente qui sera superposée sur la carte du ciel. Cette image devrait avoir des régions transparentes qui laisseront passer la carte du ciel et d'autres opaques qui représentent les arbres, les bâtiments et le paysage autour du télescope. Un format particulier est requis pour cette image qui demande d'ailleurs un effort significatif à créer. Il existe beaucoup d'informations sur le web expliquant la manière de faire pour Stellarium. Les détails de la création d'image sont les mêmes que pour Stellarium.
L'utilisateur prend d'abord une image à 360° en projection équi-rectangulaire depuis approximativement le même point de vue que son télescope. Ce type d'image peut être prise avec l'application de l'appareil photo de Google, ou l'application YouTube de Google, avec son téléphone portable ou tout autre application de l'appareil photo. L'utilisateur doit ensuite modifier l'image pour rendre le ciel transparent et l'enregistrer dans le format PNG. Enfin, il doit déterminer où est le nord dans l'image pour l'aligner avec le nord de la carte du ciel. Une fois tout ceci terminé, la carte du ciel peut simuler la vision locale du ciel en incluant le terrain local.
Une fois l'image créée, il faut la charger via la page Terrain et configurer la valeur de la correction d'azimut (en degrés) afin de permettre à l'utilisateur d'effectuer une rotation de la vue pour avoir le nord de la carte du ciel aligné avec le nord de l'image.
De plus il existe d'autres options d'accélération pour obtenir la meilleure expérience utilisateur lors de la présentation du terrain sur la carte du ciel.
Astuce
Vous pouvez (dés)activer la superposition du terrain en utilisant le raccourci clavier Ctrl+Maj+T ou avec le menu Affichage → Afficher le terrain.